We decided at the last moment to create a viewing room. The plan was to have an actor mixed in with a few mannequins to deliver a scare.
To fill the room we needed to create a few more mourners. These pics weren’t taken with the intent to create a “How to” but I think the idea comes across just fine.
You will need
- 2 Rolls of duct tape. Any color will do although I was lucky to find some beige at the surplus store
- Good Pair of scissors.
- Old clothes, including a shirt, socks, pajama bottoms or pants, and gloves (optional).
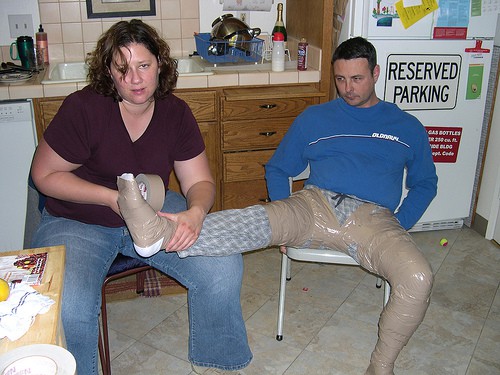
- Second, choose a subject. dress them in old clothes as this will be what the tape will stick to.
If your mannequin is to stand then you are ready to begin. If the subject is to be sitting as ours were, it is best to have the subject sit in the same chair, or something close to it. This way the angles in the arms and the bend in the knees will match the pose once completed.
The Build
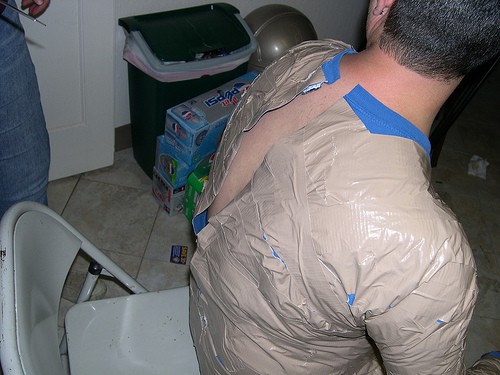
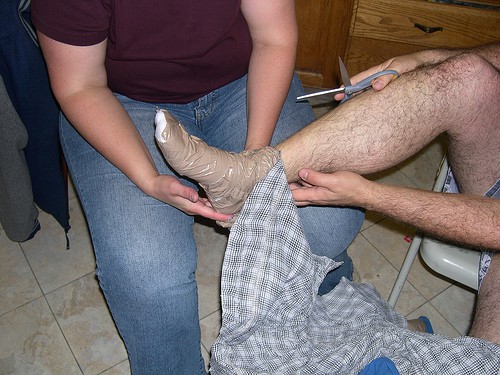
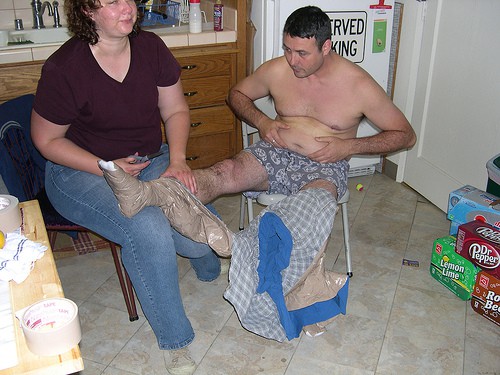
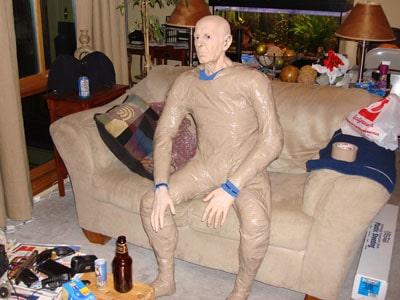
Once the subject is in the old clothes you can begin to wrap them with duct tape. Start at the feet and work your way up.
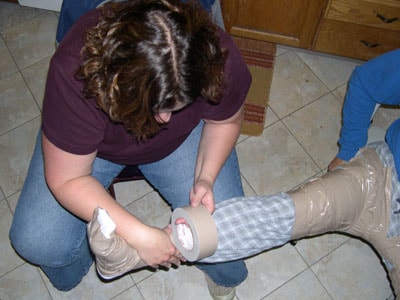
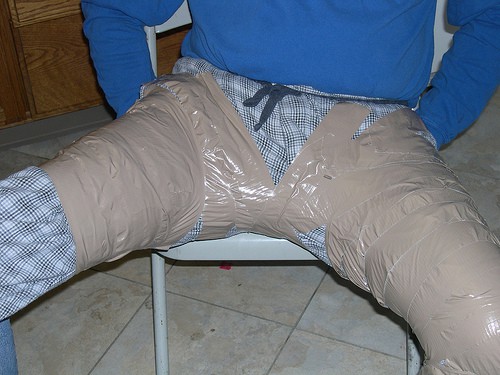
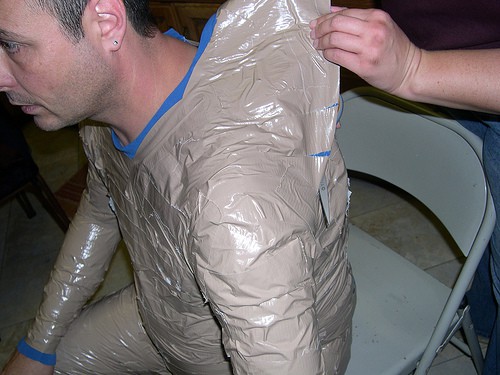
Once both legs and arms were covered, it was time to work on the body. The long strips of duct tape going from the crotch to the chest were meant as some support.
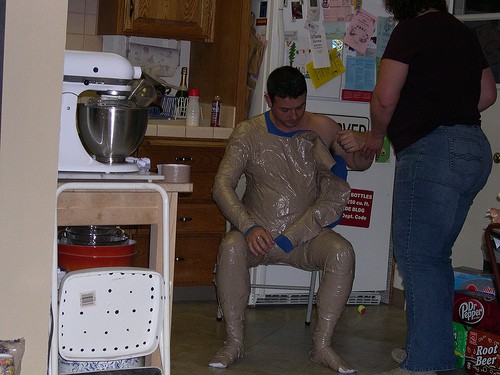
Notice how the cuffs on the shirt were left un-tapped. we needed a place to attach fake hands to without taping them on. We used a simple “Zip tie” to keep each hand in place.
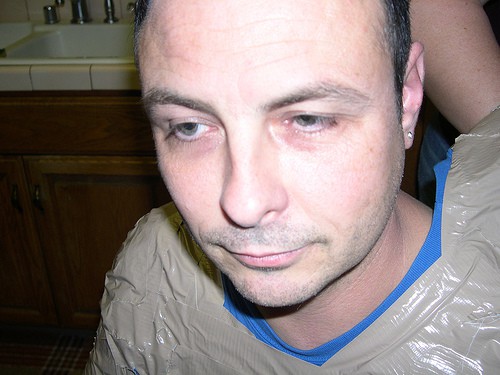
Doesn’t he look happy?
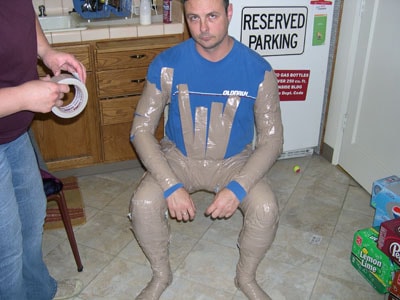
Now that the body is covered, we used some extra tape for support in the critical bent areas so it would keep its shape longer once filled with foam.

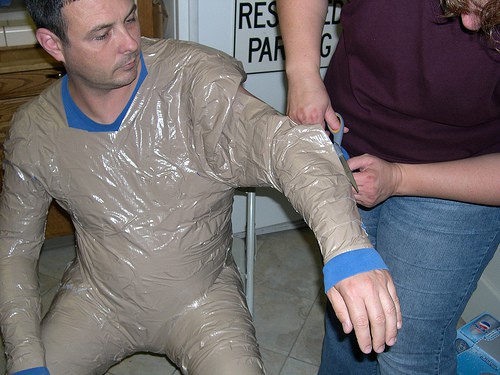
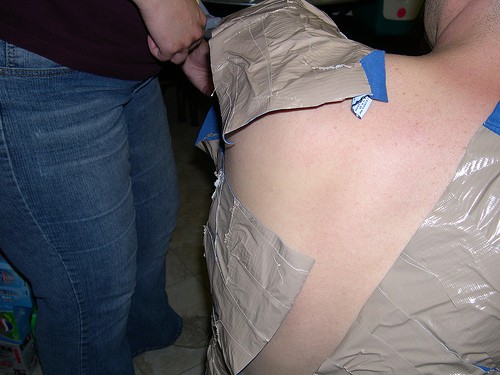
Once you are happy with the coverage you can begin to carefully cut away the clothing from your subject.

One thing we didn’t do here which might have come in handy was to use a Sharpie and mark the cut lines with some reference lines. This would have made it easier to line up therefore making sure the shape was retained.
Once the subject is removed, stuff the cavity with whatever you have handy. Old clothes, packing peanuts, newspaper. In this case, I used pink bubble wrap used for packing. It was free to me and I was able to get more than I needed. Start at the feet and stuff the cavity while closing up the cut seam with more tape. Make sure to adjust the shape of the arms and legs before you go too far.

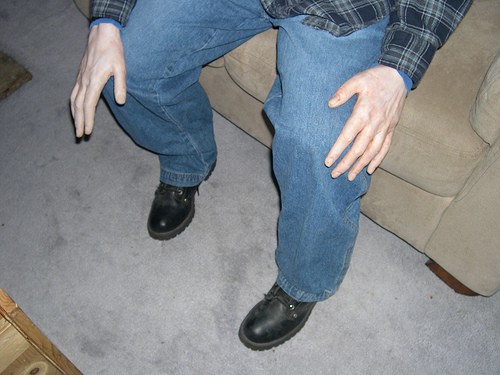
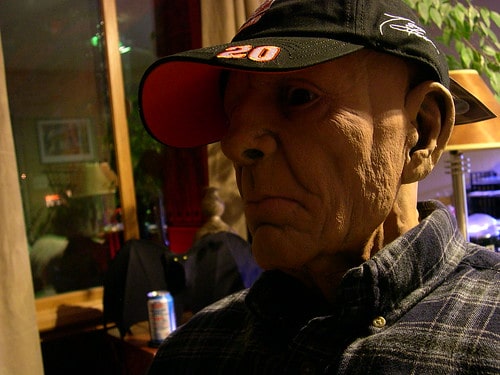
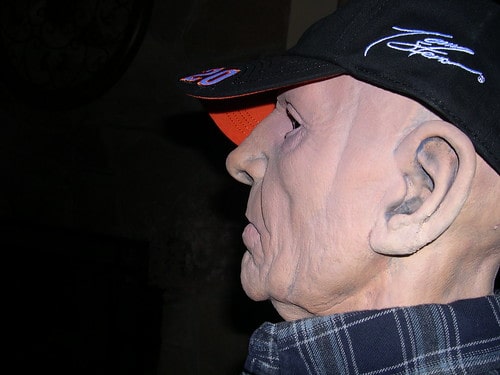
With the cavity filled and closed up, we could now attach the head and arms. Both came from Ghost Ride Productions.
Here you can see the “zip ties” used to hold the hands.
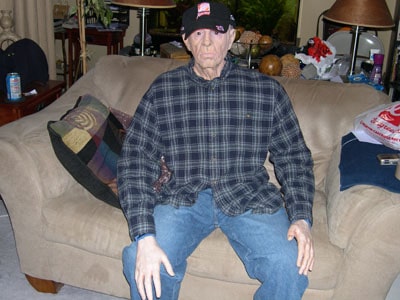
Slap some clothes on, some shoes or boots a wig or a hat and it’s hard to tell how real-looking he is. In the dark, it’s almost impossible to tell who’s real and who’s fake.
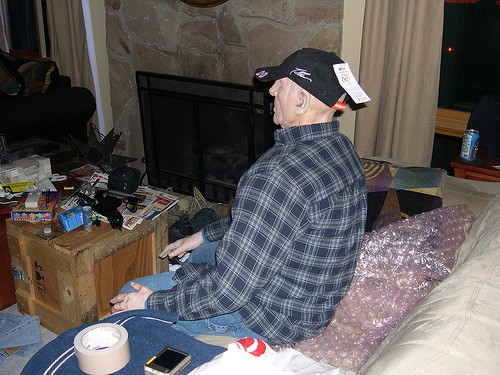
More pics of this project: