My inspiration piece came from Jeff Baird of Baird Manor.
The mechanics of his prop are the same as mine but that is where the similatries end. If you follow his tutorial you will end up with something like this….
That is a pic from his tutorial.
I got it into my head that it didn’t look right to me.(no offense there jeff) I just prefer to have things a bit more tidy or hidden. I didn’t like the fact that you could see everything. So I set out to see what I could do about that.
First I built according to his how-to until I got to this point.

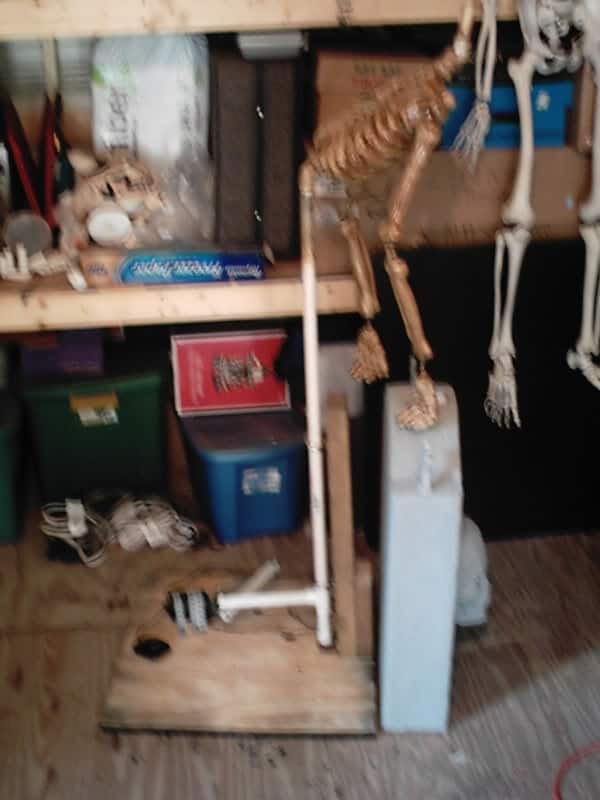
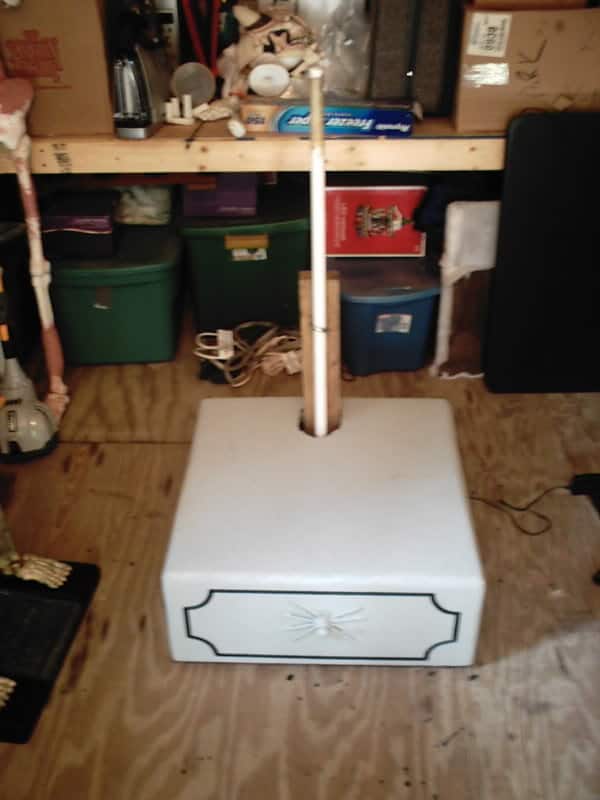
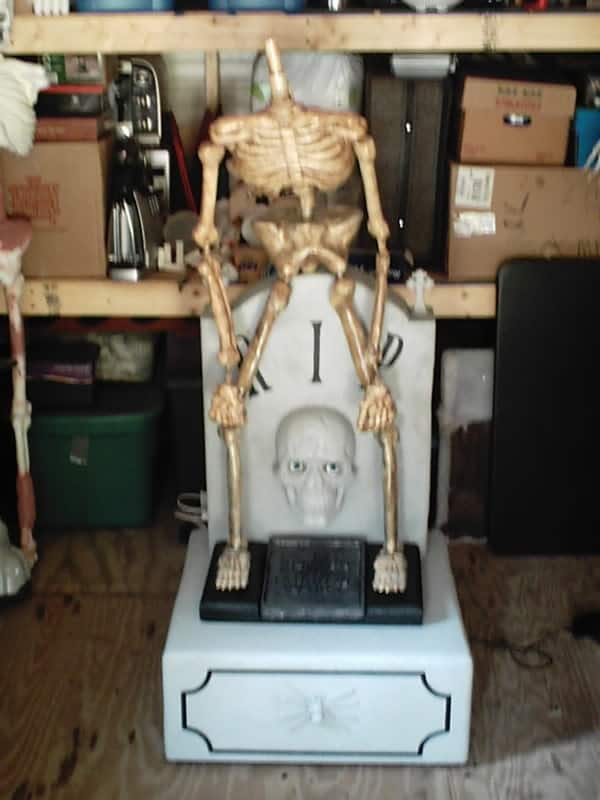
At this point is where mine changed. I decided to hide everything I could. So I started to build a base covering the mechanics.
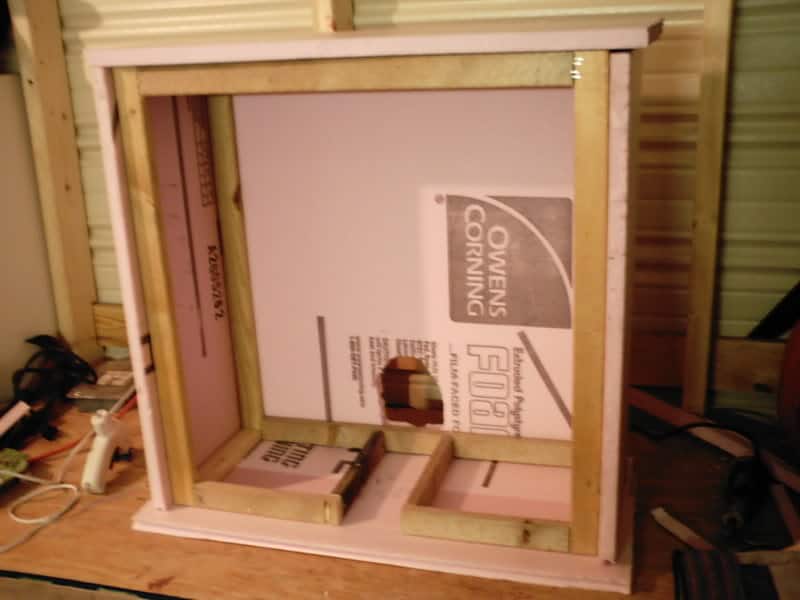
I started by making a 1×2 frame that sits on the board.If you look at previous pic just behind the tombstone there is a reinforcing 2×4,I made sure base sat just above that. I put the frame together with hotglue and a staple gun. then as you can see I hotglued foam on all sides and top. then cut a hole in the back to allow taller 2×4 and pvc through. I then trimmed excess foam, used filler where i needed let that dry then sanded it, painted with a gray paint.
The design and spiders are on the front, left,and right sides

I marked off a rectangle then took a compass at each corner and marked off a curve . Then took my dremel and carefully cut the lines out.

The spiders weren’t as easy as you would think. I put them on with hot glue and every time the glue cooled down the legs would pop back up. To solve this problem I got out the gorilla glue. Once that dried I painted over them with paint.
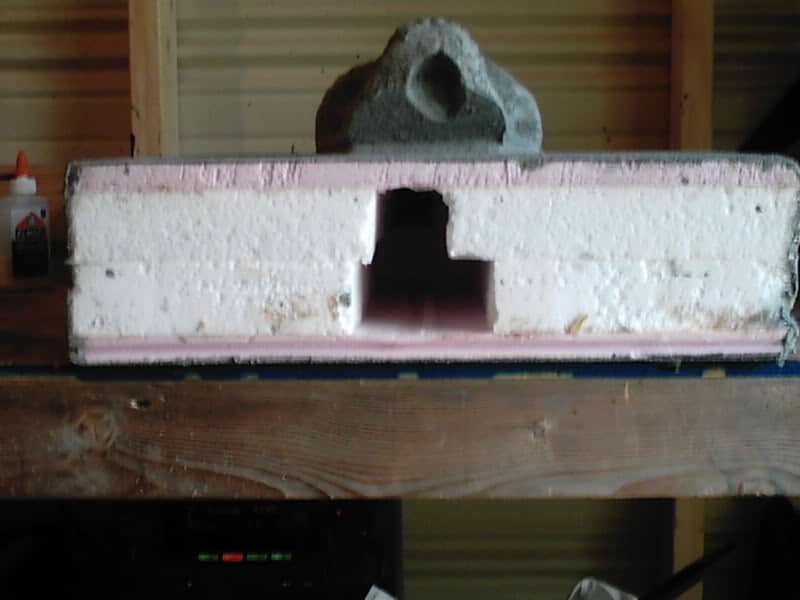
The tombstone is 4 layers of foam 2 white 2 pink. I started with the first 2 layers glued them together then carved out a spot in the middle for the pvc and eyehooks to fit loosely. then I added the next layer of white and cut out a section for the 2×4 to fit, then I put on the last layer to cover that up.
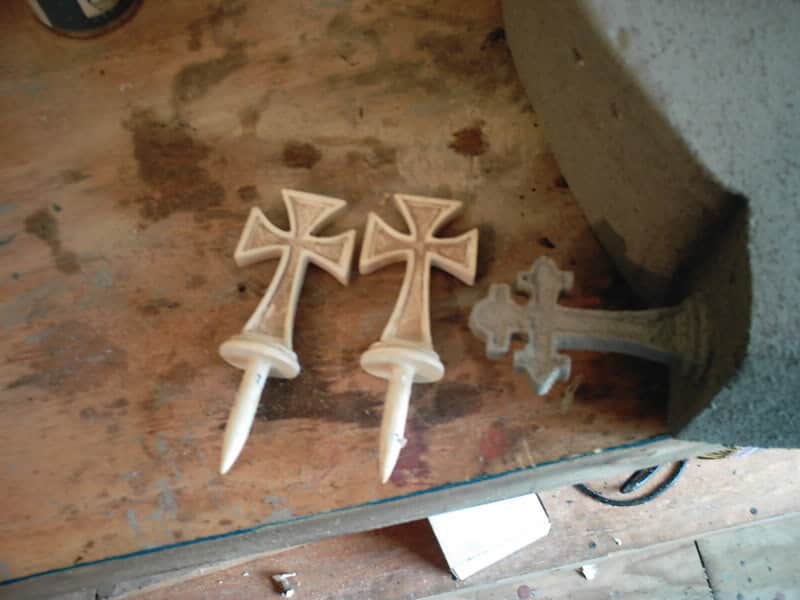
I can’t remember who posted it but thankyou! These are plant stakes I got at wallyworld thanks to someones post here on HS. I just stuck them in and painted them.

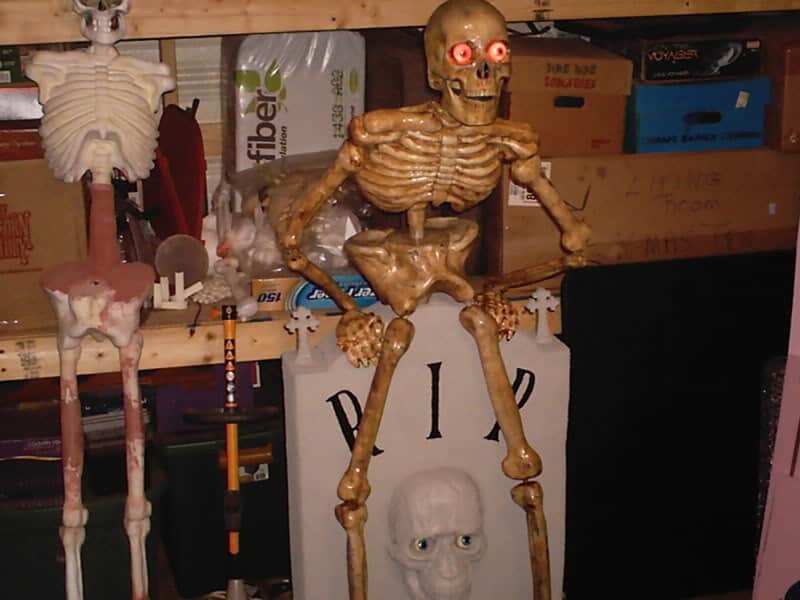
This is the face on the front of the tombstone. It was a poorly put together styrofoam skull. I took it apart and kept the face. I then hotglued it to the tombstone then caulked around it and painted over it. to make it look like part of the tombstone.
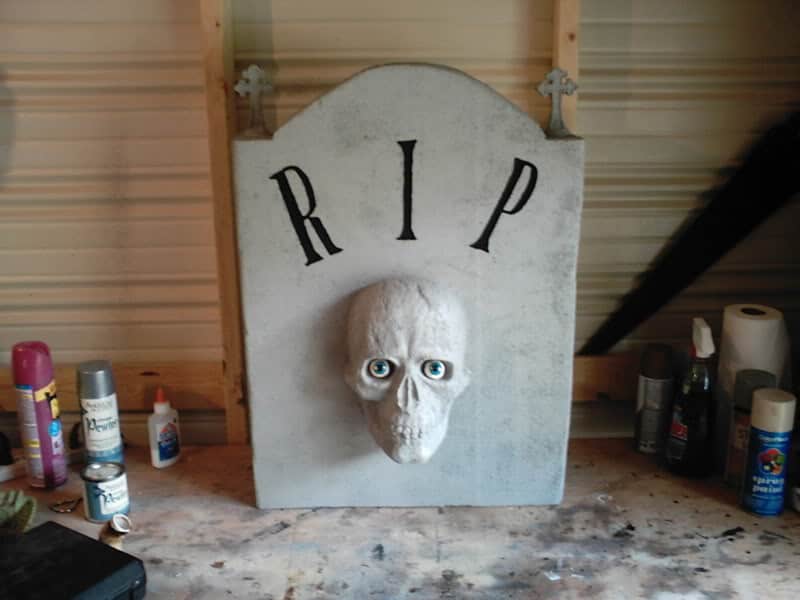
Carved RIP from a template and its done.

Can you see where this is going?
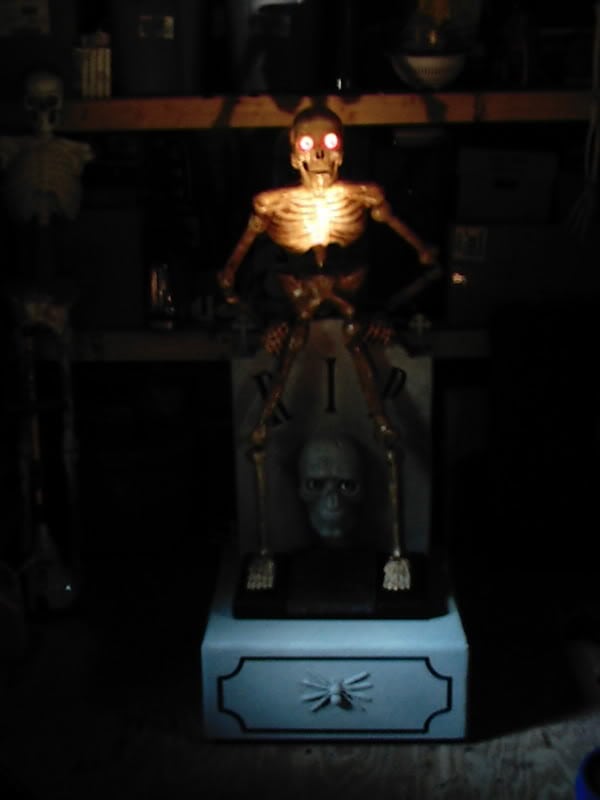
Ok on to the skeleton. Before I show the next pic I must say in my defense I have never stained a skeleton before. I tried what I read online, wipe on wipe off.well when I did that it all would come off. So I decided to just leave it on for a while (about a week). You guessed it, it totally dried and now I had a skeleton with a very, very dark tan!
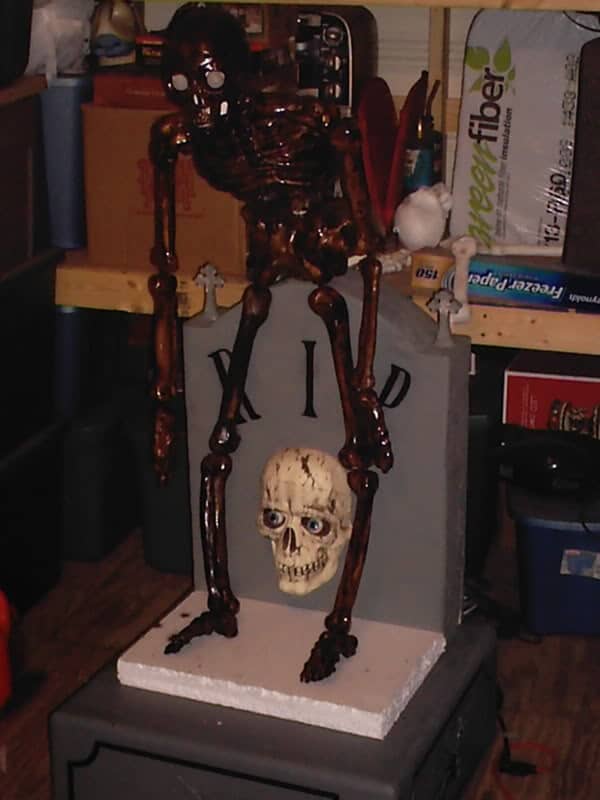
Well now what! I mentioned the mistake because in the end it turned out to be a postive,believe it or not! I then took the skeleton and Painted him with a can of almond color spray paint. 1.12 a wally world. then I took a lighter stain painted it on then slowly dabbed it off. When I did this a little bit of the paint came off too creating a very natural and cool look allowing just a bit of the dark to come through.

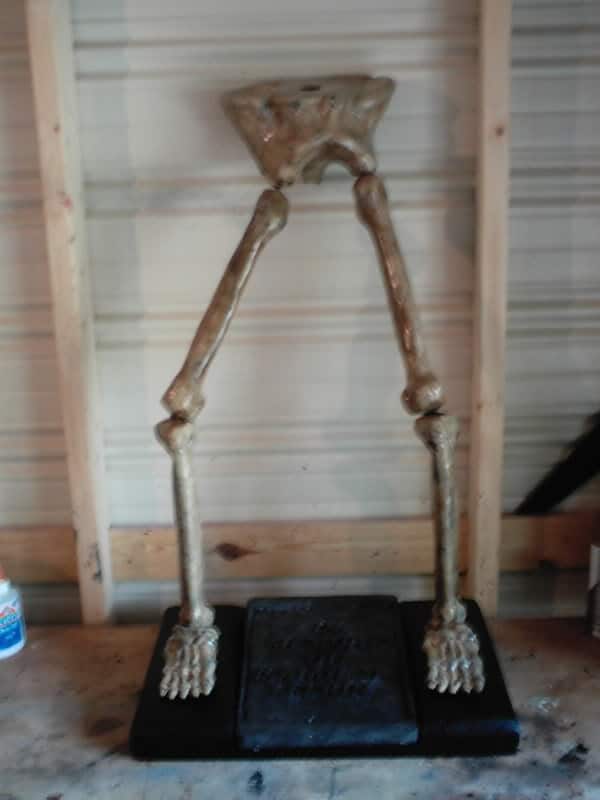
I needed some way to keep the legs still, so I made this plaque. On either side I pushed in then glued a piece of pvc. then cut a hole through the foot and a hole in the bottom bone and slid the foot and bone over it. The plaque itself took me over 4hrs to do. shaving out the foam and leaving the letters. I then pain ed with a silver paint when that dried I put a black stain on it kinda giving it that old pewter look. A clear coat and there ya go.
This is the lower torso or butt of the skeleton. I cut a hole to match the one on top and the legs didn’t sit right so I moved them forward drilling new holes for them. The old holes didn’t bother covering no one will see them.

Where getting there!!!
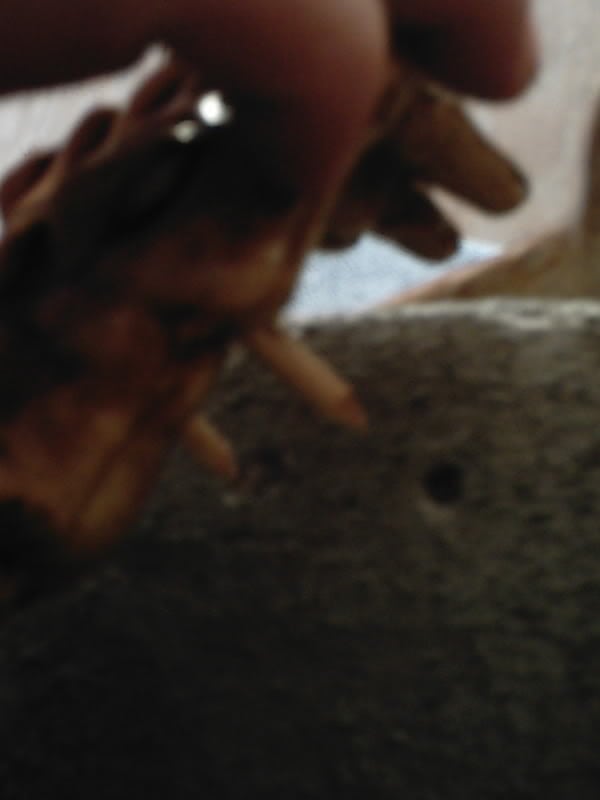
The hands I took a heat gun and softened them up so I could bend them so they looked like they were gripping the tombstone then I drilled a couple of holes and made little stakes and hotglued them to the hands so they wouldn’t move on the tombstone.
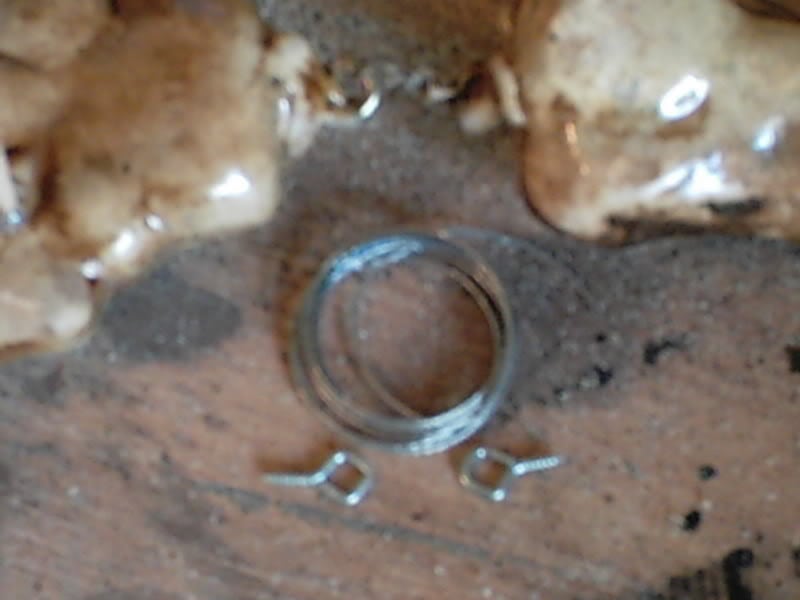
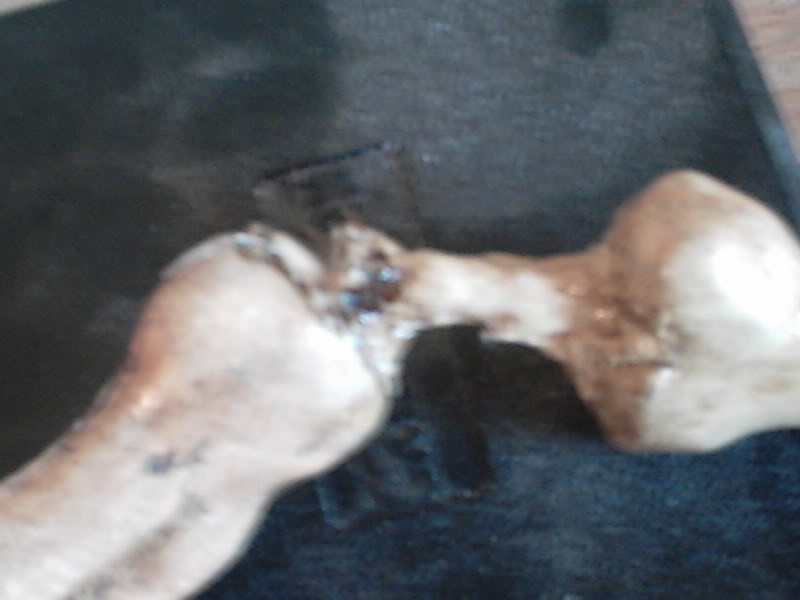
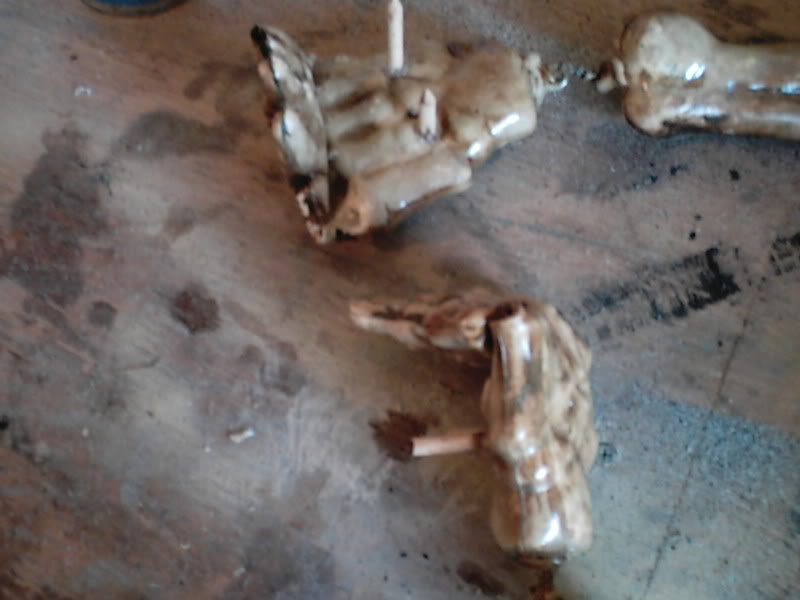
The joints I didn’t want to use zip ties so I found this way on line.Cut the tips off the bones then put a piece of a glue stick in the hole then take a small I bolt and screw it into the glue. Do the same with the other side.Then take a piece of wire and wire them together. Then cover that with glue. Paint and stain. Ok now I have told you how I did it. Now I must say I do not reccomend it. Unless you use this method with something that is not moving or at first you find a glue that will bond well with the plastic, don’t do it this way.
Almost done!
Here I am attaching hands to the tombstone.
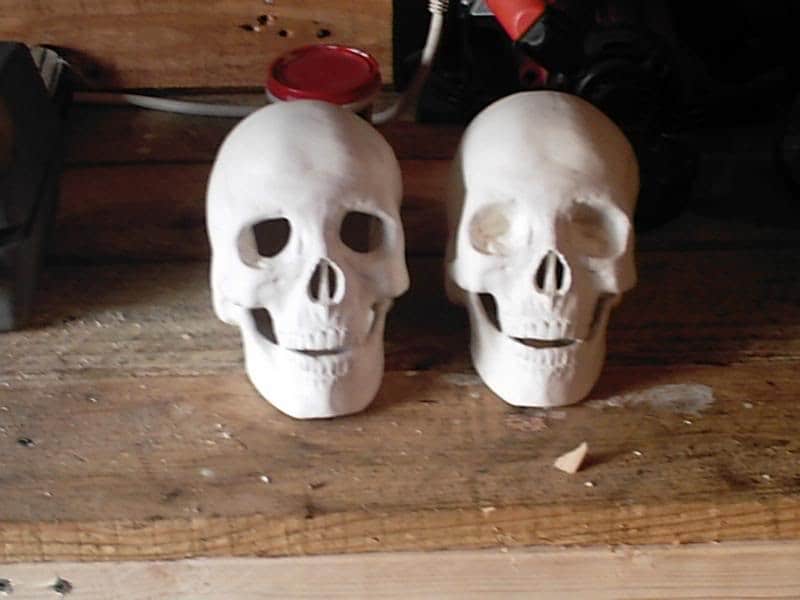
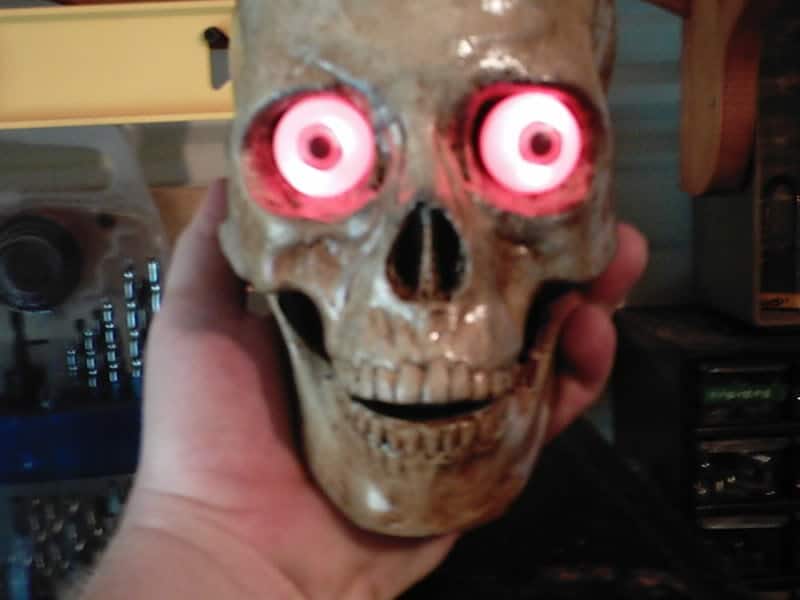
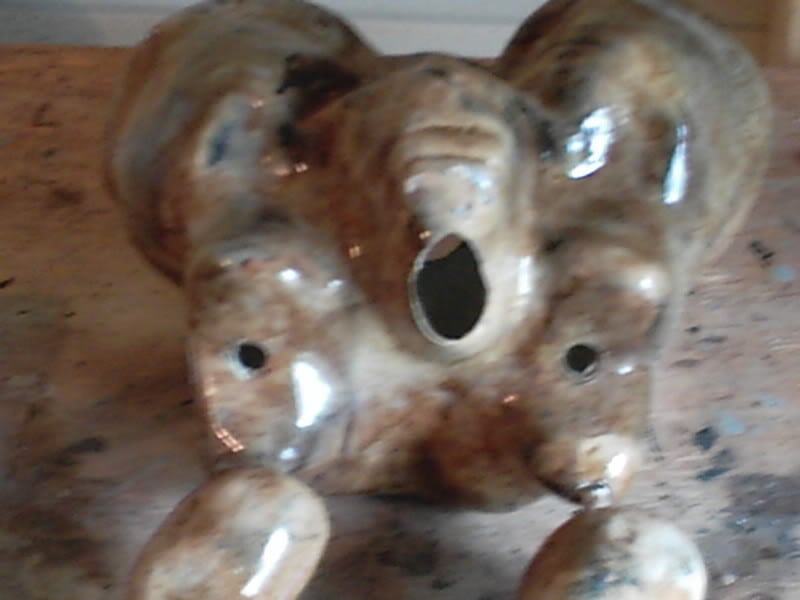
I don’t like the blucky skull and I had these, so I used one of them. it is a ceramic skull.
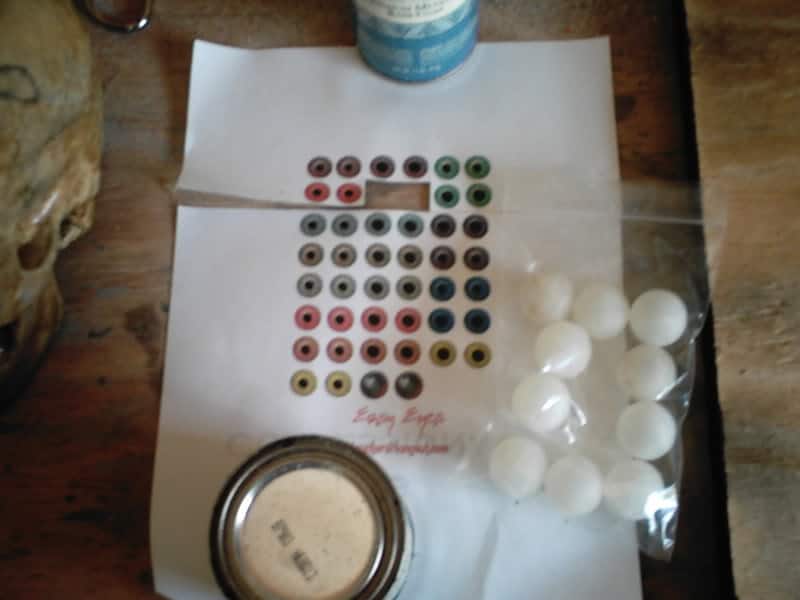
I purchased these eye blanks from monster guts and they also had a link to the pupils to make easy eyes. a little glue then clear coat it and you have your eyes!
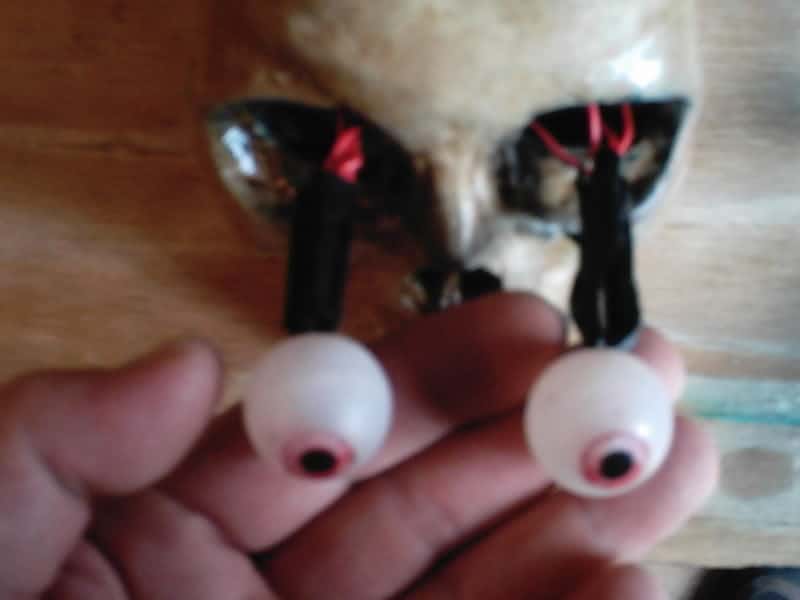
I then drilled a hole in the back, inserted 2 LED’s in each eye, then pushed them in.