
This is my attemp at making a mask using panty hose as the base. I found a how too for this in Haunted Attraction Magazine Issue #43. The article is Make your Own Prosthetic Mask by Larry Bones. I would buy the magazine to get the real how to. I’m making something a little different. I’ll be using cotton in stead of a foam latex prosthetic. I’ll be using panty hose over the foam head form as a base to build my mask. The features will all be made of cotton & latex.

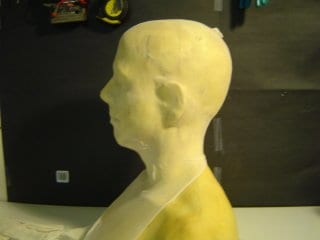
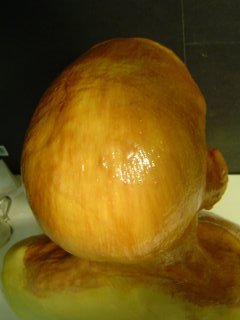
I pulled on leg of the panty hose over the form. I cut the second leg off to be used later for another mask. I spray 3M Adhesive #77 on the face so the panty hose would stick to the areas under the nose and mouth.You can see the toe of the panty hose on top of the head in the right picture.

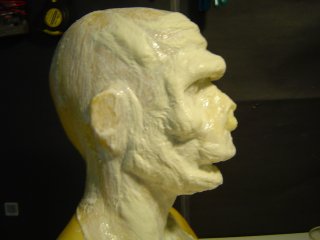
I then applied a light coat of latex to the panty hose using a brush to paint it on. It dried pretty quick so I got 5 light coats on fast. The picture on the right is the first coat dried.


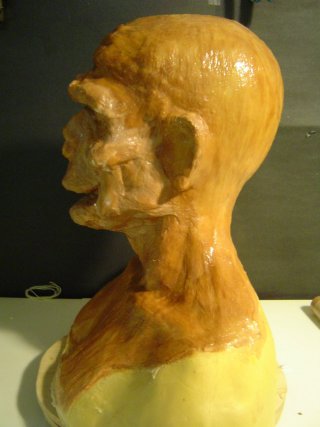
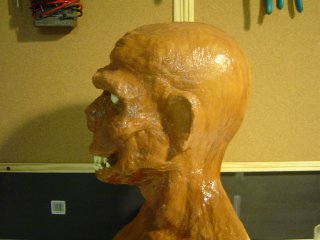
Here is a side view wet and Dry. I’m making this mask with a chest plate attached.

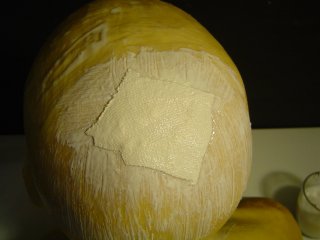
On the left is the toe to the panty hose that I will be cutting off and patching as in the picture on the right
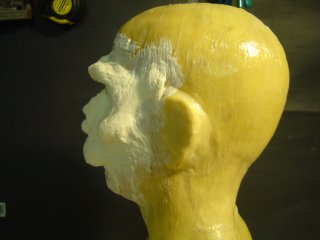
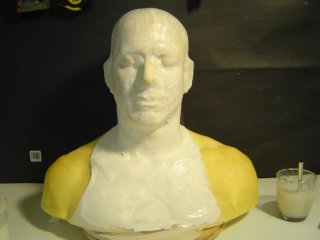
After the five coats of latex dried, I started building a face for the mask out of cotton and latex. The first thing I started was the nose working down to the upper lip. Then the eyes.
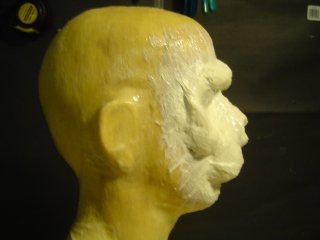
The first picture is just a side view of the wet latex. On the right is the latex dried. Its very rough at this stage but it should look better after some more details.
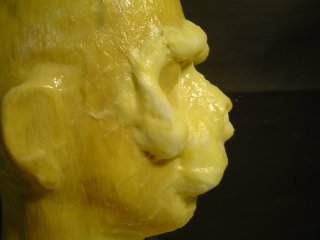

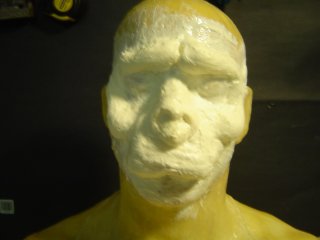
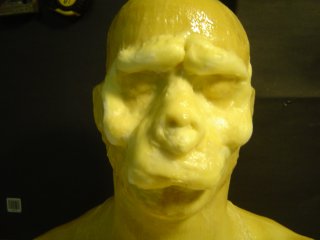
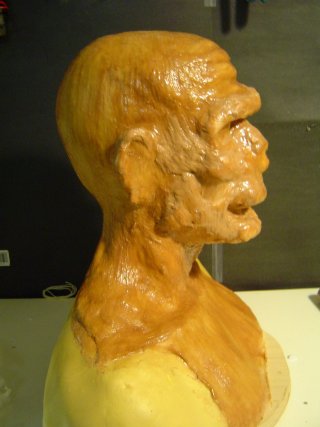
I started building up the cheeks and the lower jaw.

Some more latex to give the features some strengh.
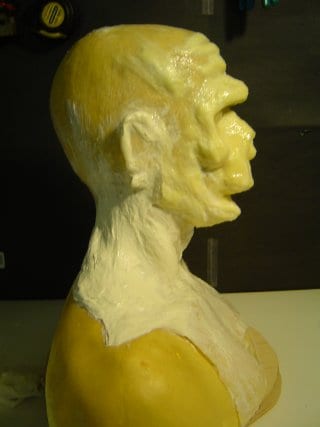

I also started building up the neck.

I have to build up his lower jaw more before I added teeth. Also I plan on cutting the back of the neck so it can be used as a mask. This could also be used as a prop if you fill the head with foam.

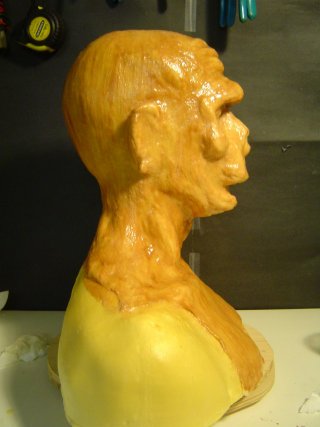
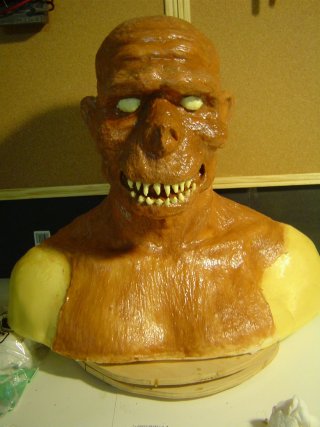
I added a little color to the latex to show the features a little better.

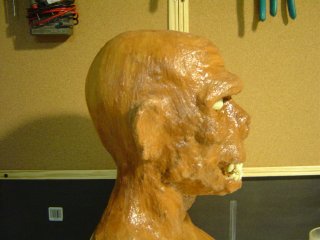
The neck muscles show a little better now.
You can’t see the patch were I cut the toe off the panty hose.
I started to build the lower jaw out more.

The latex on the mouth is still wet but you can see the mouth starting to take shape.


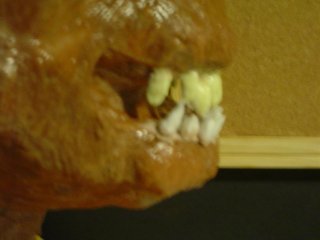
On the left you can see the start of teeth. Thats just cotton glued in place as the teeth. On the right I started coating the teeth with glue in the dark colored latex.

I also biuld up the nose a little to fit the face. Next I’ll add teeth to the lower jaw. I may add eyes that have leds or glow in the dark.
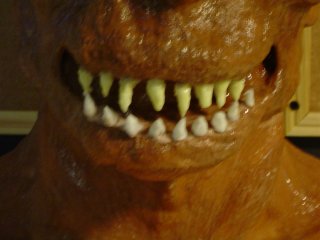
If you look close you can see the lower teeth are pieces of cotton I use latex to glue in place. Once the latex dried the cotton was held in place so I could cover them with latex.
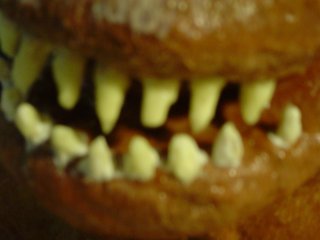
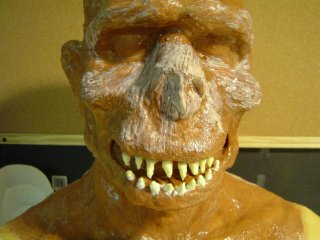
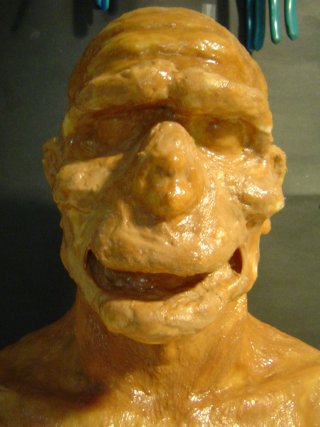
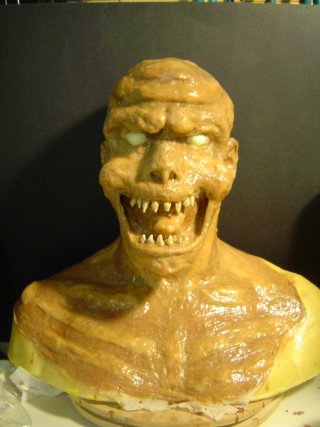
A few coats latex and we have some nice teeth. A little more latex to the face.
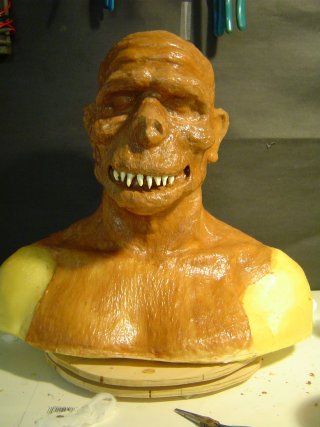
I added some eyes made of cotton and a little glow in the dark latex. I just have to do a little work to the ears and its done as far as latex.
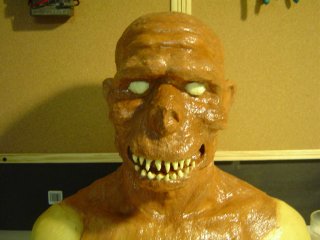
I added some eyes made of cotton and a little glow in the dark latex. I just have to do a little work to the ears and its done as far as latex.

I cut the back to remove the mask from the base. I used a lot of powder to keep the latex from stick to itself. I used the fan in the left hand corner to dry the coats of latex. It works well.
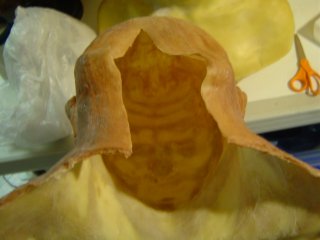
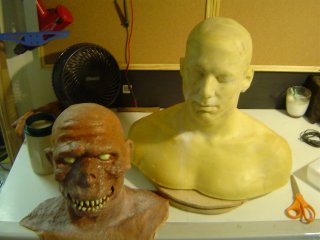
Here is the cut in the back. Not that bad and I could fix it easy enough with a little latex. I try it on an it fix ok. I’m going to use this zombie and a few more in my grave yard this year. Check out his brother below.
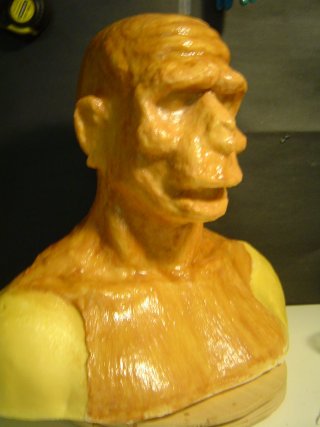
This is the second zombie so far. I’m going to fill him with foam and use him as a ground breaker. I wanted a different look so I opened the mouth a little more and added a tongue. Once I make the third zombie I’ll paint them all.


I also gave this zombie a boney chest plate. The eye and teeth glow in the dark. I may high light the ribs with some glow in the dark paint and use some UV LEDs to make the rib stand out. More to come.