
This is the first prop I ever made using a WINDSHIELD WIPER MOTOR. This is also the first Spider Prop I have ever made. Hopefully, these instructions will help others to advance their Home Haunts.
The New Idea?
This year I wanted to add a GIANT SPIDER to my Home-Haunt.
I was inspired by this Flying Crank Ghost-style spider seen on the Creep Crafter site.

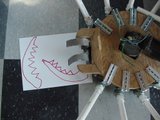
I started with this little rubber spider as my model

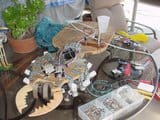
Here is my start, a FREE wiper motor from an 86 Suburu and some hardware from ACE.
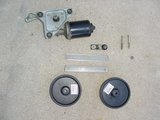
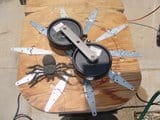
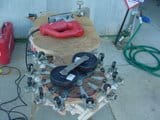
Here is the Wiper and basic wheel assembly together.
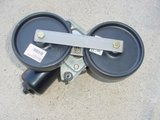
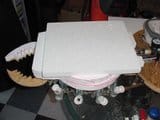
I used a thick piece of plywood as my base, and I fit the wiper motor in so that it would sit low profile.
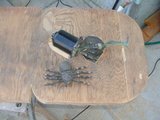
Here is a pic of the wiper/wheel assembly mounted to the wood base.
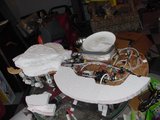
Next, I spaced and mounted 10 hinges to the base.
Then I welded 10 small wheels to the hinges.
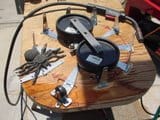
I used a tiny bungee band around the 10 hinges to force them back to their upright positions.

The Next Step
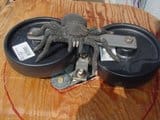
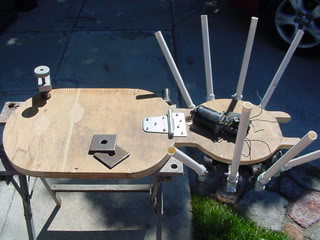
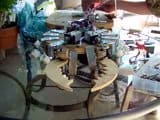
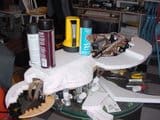
What a mess! I had some revisions to make. First, I got the saw out and put this thing on a diet! Then, I mounted all the rockers back into new positions.
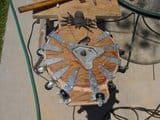
I welded on some metal elbows to receive the PVC legs.

Then I put on the PVC legs. I made from 3 one foot pieces of PVC and two 45-degree elbows.
The Pivot
OK, so I got the jig saw out and cut off the HEAD!
TAKE THAT YOU DIRTY OLD SPIDER!!!
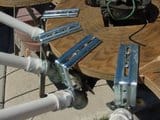
Next, I installed a fatty hinge…
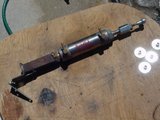
I welded up a heavy-duty linkage plate. Then I slapped together a BIMBA cylinder with ball/hinge mount.
Then I put some stops onto the leg linkage.
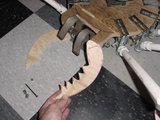
Jaws
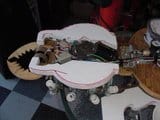
I traced out the jaw on paper… Mmmm, looks good to me.
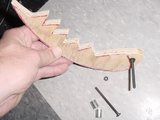
Then I cut mine out of 1/4″ plywood.

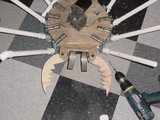
A QUICK TEST FIT…. YEAH, Daddy like…
A simple screw mount, works for me…
All mounted up
Frame & Spit
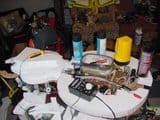
I made this nice little rolling steel frame to support the spider. What a mess! Wiring and hoses everywhere.
Jaws and Venom
My first spitter prop. I just tested it and it worked great!
I used a 3-way air solenoid. The NC (normally closed) port is hooked to 40-50psi. The COMMON port is hooked to the plastic spitter tube.
The NO (normally open) port is left open so that water can run into the solenoid from the water tank. Here is my spitter tank. No I did not steal it from the kitchen! This baby is from the dollar store. I epoxied a water pick up tube into the bottom.

Ahhh… now were talking. Water tank is mounted.
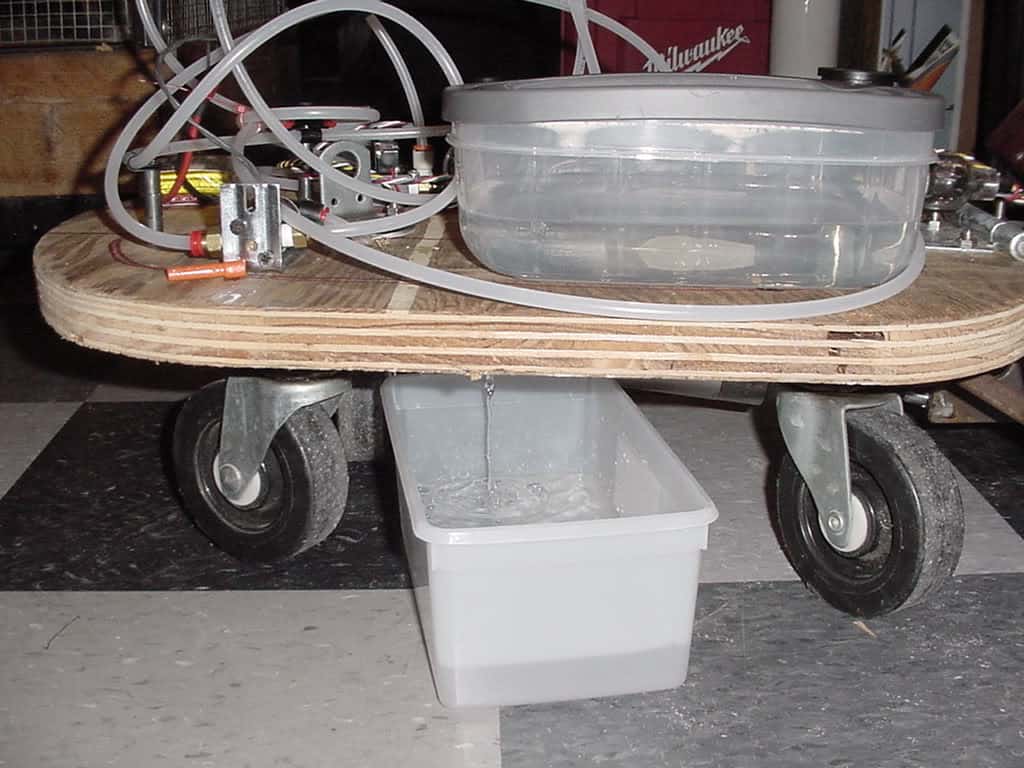
I even put a drain in the system to make maintenance and storage. Water tank should supply about 1 running hour of spit!
Spider Guts
I started with FREE foam (recycled from work) and a really sweet foam cutting tool![]()
![]()
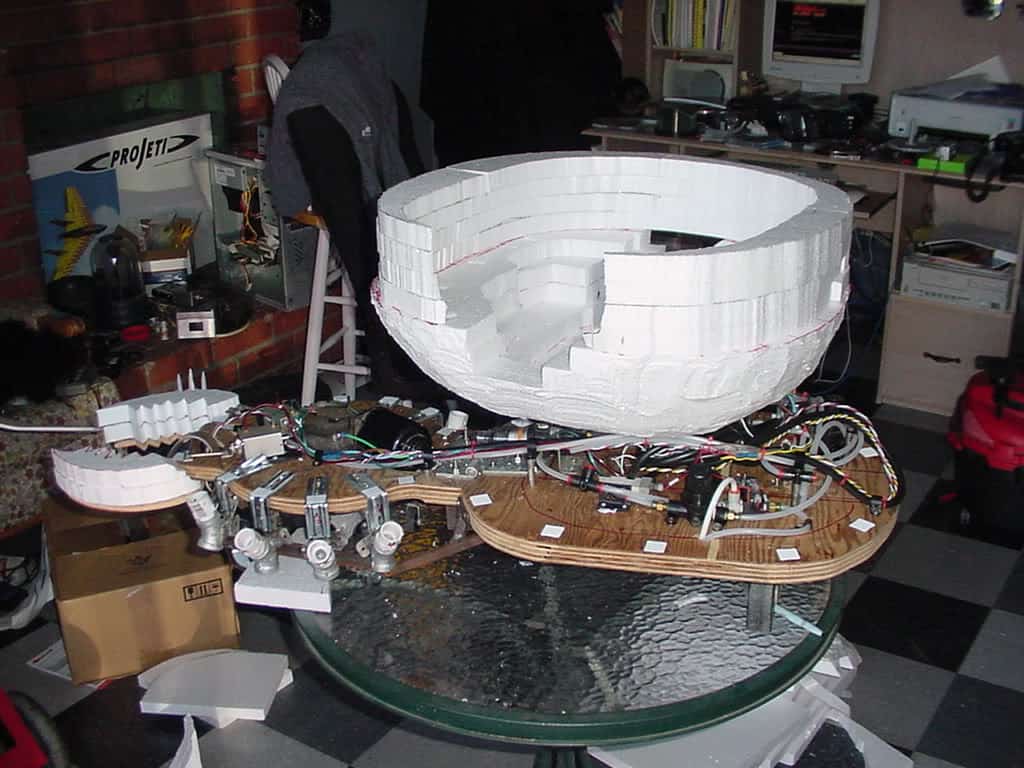
I started by cutting out the foam for the head. I glued layer upon layer to build up the height. Then I shaped it with the Freehand Router tool from the foam factory. Foam, foam, foam, everywhere, foam… cut glue, and repeat.
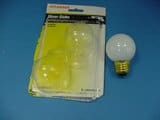
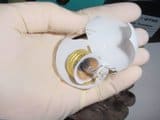
I tried to use the glass from some light bulbs, but that didn’t fly.
After stacking and gluing layer upon layer, upon layer… I started to carve it. (FUN STUFF)
Still carving…
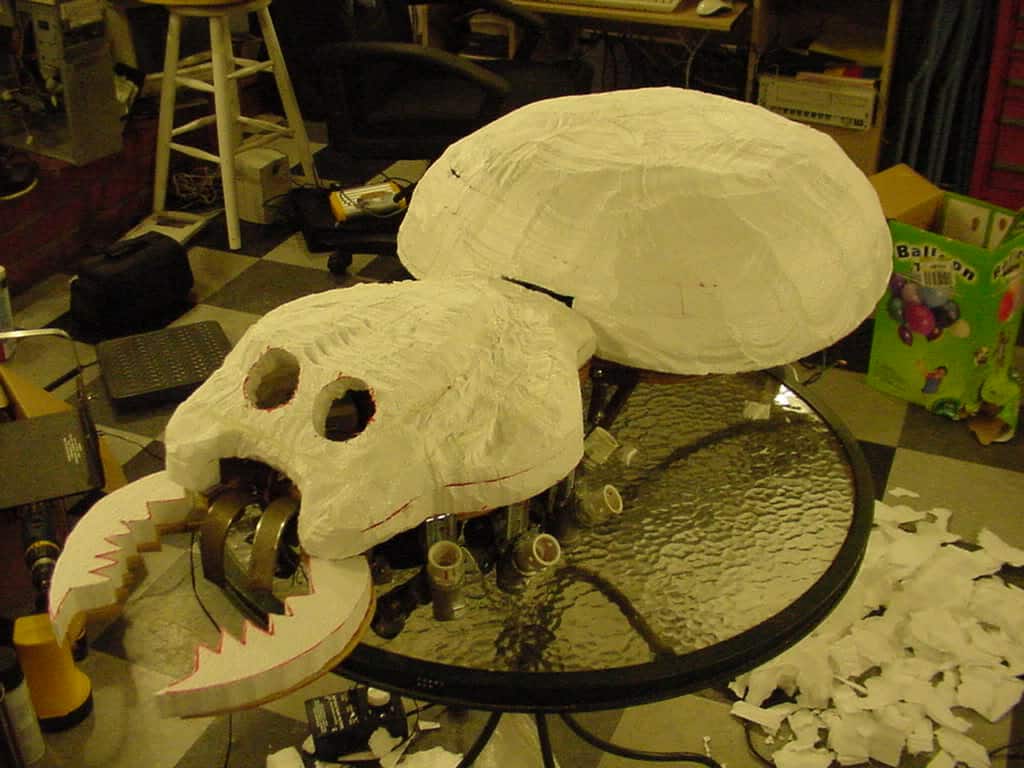
Here is the rough body overview. I still have a long way to go.
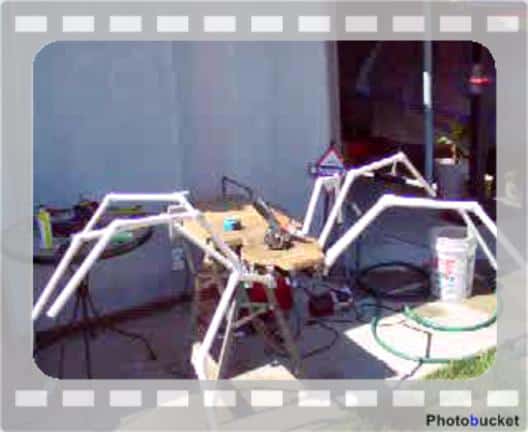
Nothing But Leg
I think I am done with the stupid legs. I started with three 1-foot sections of schedule 40 1/2 PVC pipe. I joined them together with 45* couplings. Each leg was secured with a single bolt. I also glued end caps on the leg tips. I thought it looked pretty good, but when I tested it… I found the legs were over-weight and causing excessive strain on the motor. Also, the end caps made a stupid tap-dancing noise! I thought perhaps I would just throw glitter all over it and place a big top hat on its head.
My lovely and supportive wife is hand-making the kick @$$ leg covers from special hairy yarn. She worked on the 8 leg covers for over a week! Many times she had to stop because her hands hurt.
I just wanted to thank the people who wrote in with their suggestions.(Doktor, StonyPath, Rob and Colleen)Your input has helped to shape this design. We will be going with a hiny/smooth cephalothorax and a very hairy abdomen. We are also using blown plastic packaging material for the eyes.
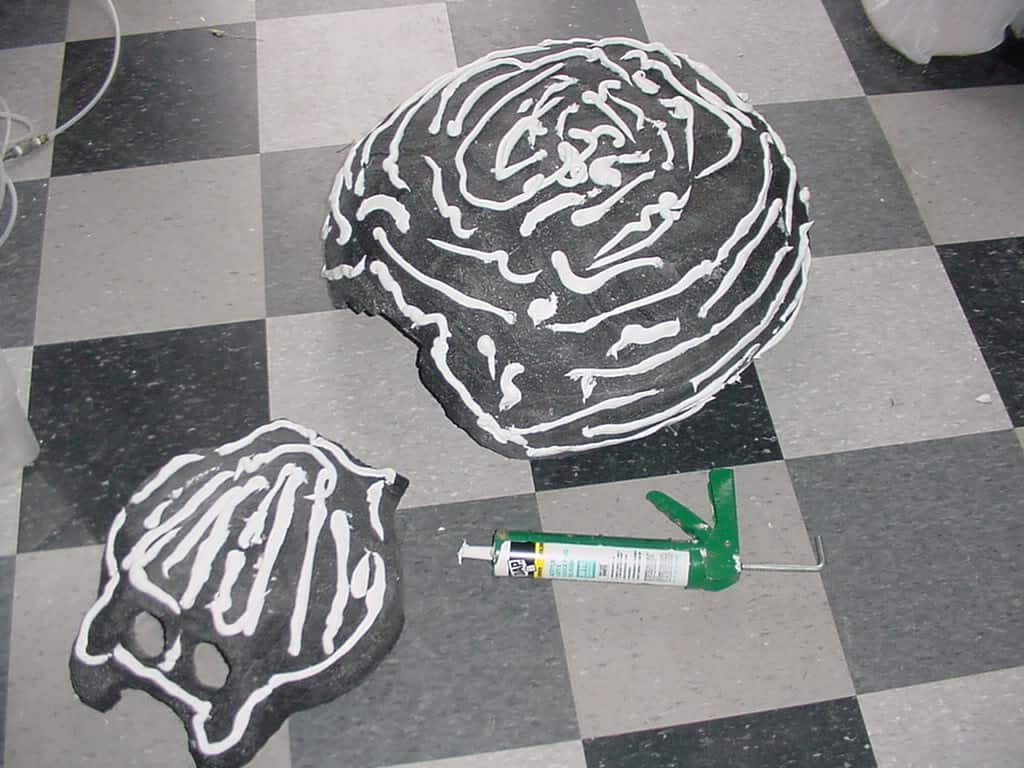
First I coated the foam with Alex Plus latex caulk (DAP). I then spread the latex evenly over the entire external shell.
I cut out the eyes from the blown packaging material that came with some light bulbs. After a test fit, I painted them red.
I painted the body with gloss black paint. My wife will be making the hairy abdomen body cover.